


If you’re a big FromSoftware fan, you’ll likely find much of Elden Ring Nightreign familiar. That said, there are some key differences. For one, in Elden Ring Nightreign you’re on the clock. You have three in-game days to level up and defeat the given Nightlord. As such, you’ll want to prioritize certain areas in Limveld over others.
Dropped into Limveld courtesy of helpful eagles, you may find it a bit overwhelming at first. Time is ticking. Where to go first? What to put off until you’ve leveled up? With this guide we’ll give you some tips on what to prioritize.
General Strategies for Getting Around Limveld in Elden Ring Nightreign
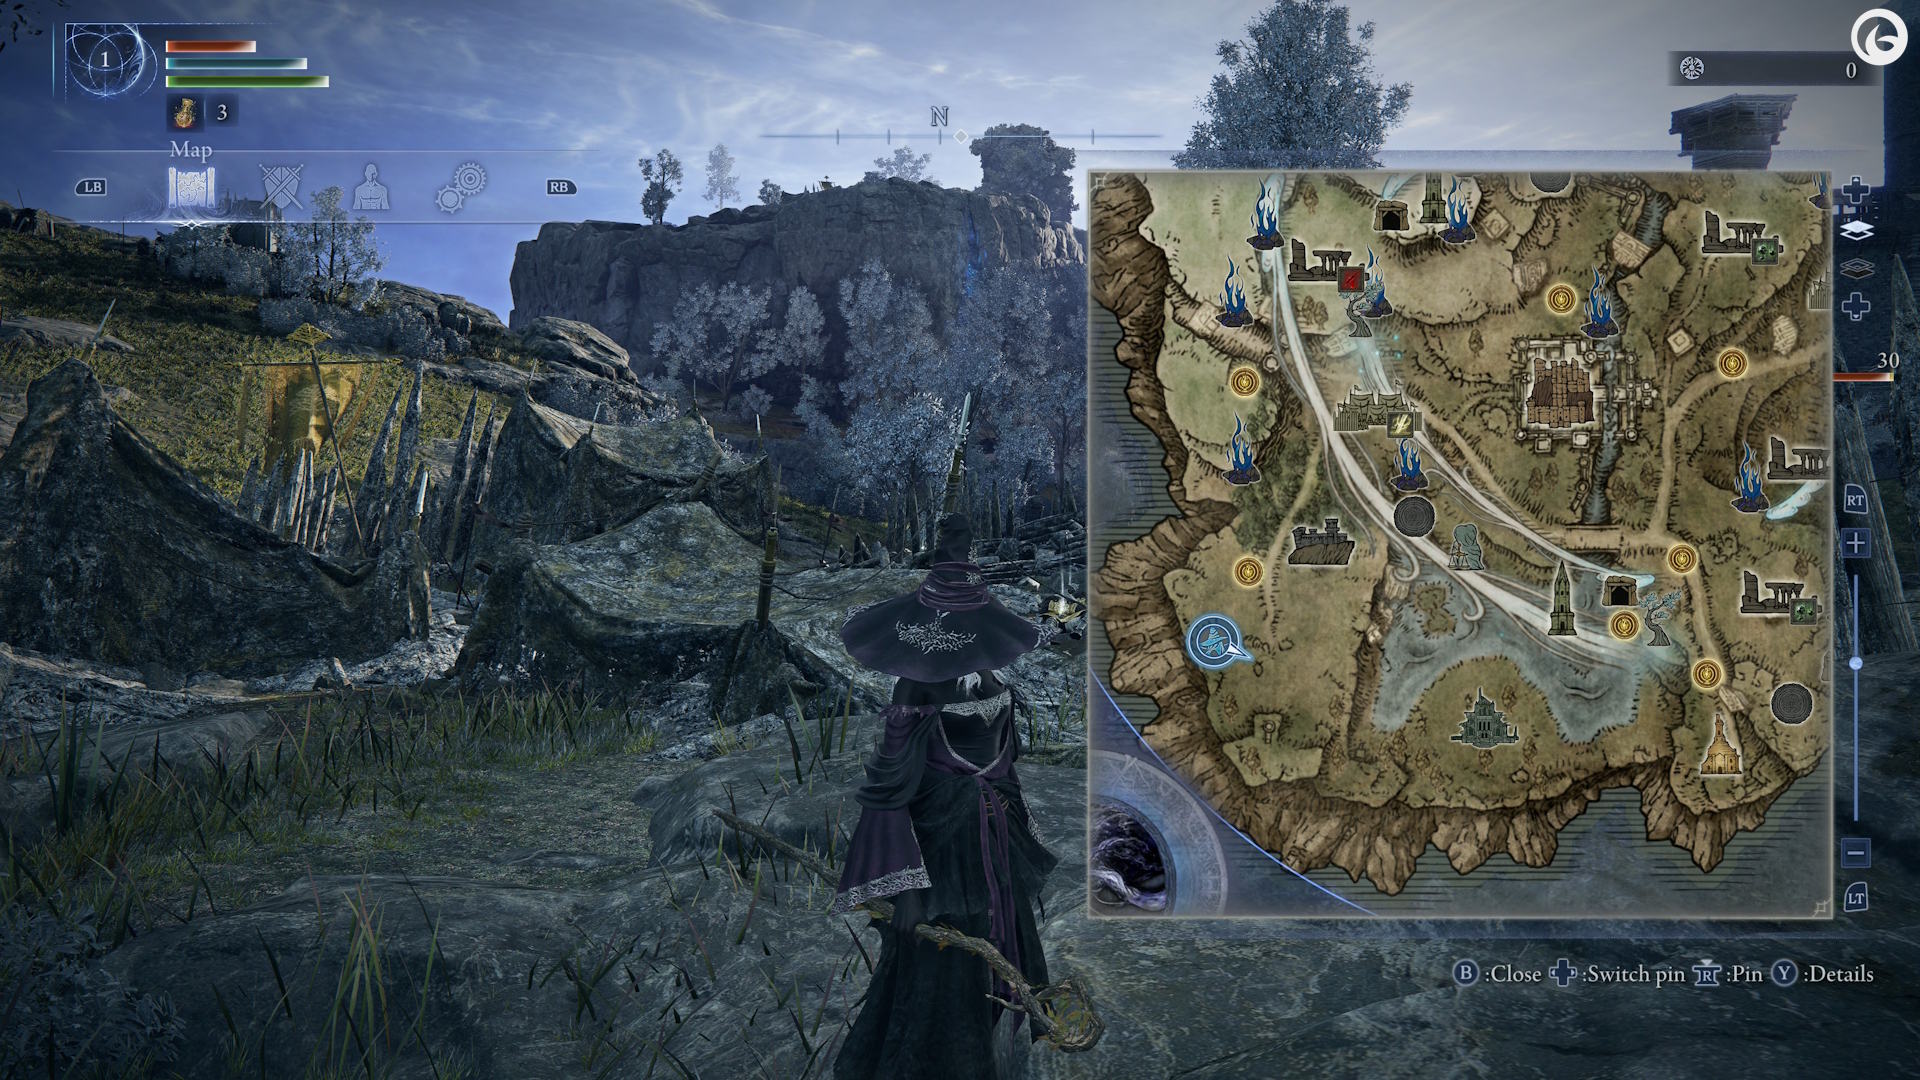
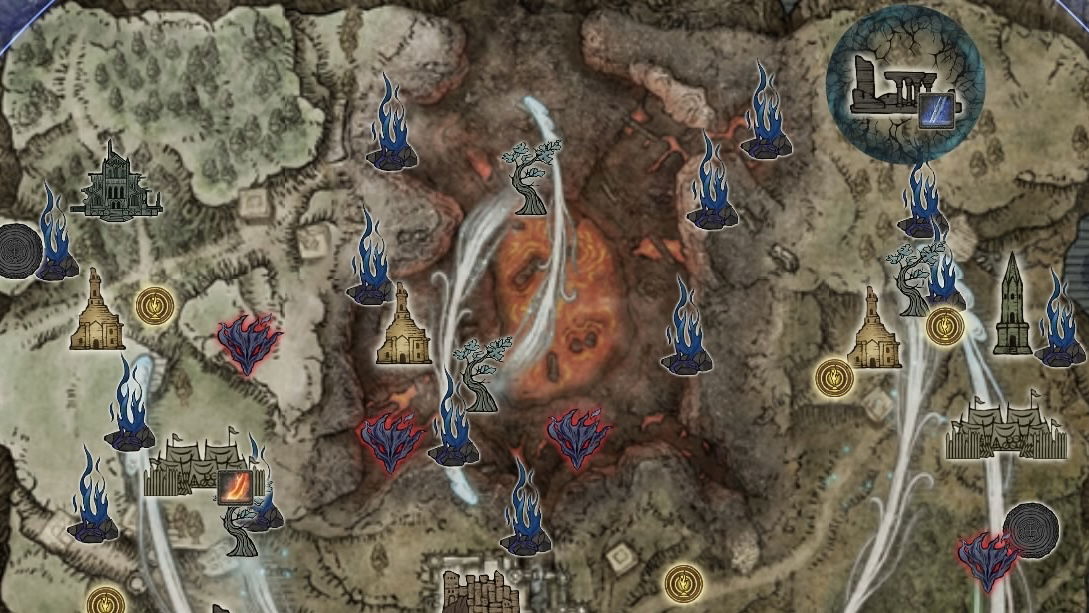
While we’ll go into the nitty-gritty details for min-maxing your runs in a moment, first some general tips. Mechanically, you can ping locations by opening your map. If two or more players ping the same location, it will become a bright white light, as opposed to your character’s color. In case your map is getting cluttered, it’s a nice way to keep track.
Mechanics out of the way, here are a few strategies:
- Prioritize locations at the edge of the map first. Since the blue fire will encircle the map over time, it’s best to get the peripheral locations out of the way. These spots also tend to work well for lower-leveled characters.
- Select “details” on the map to see what armaments you can get. Each location will actually tell you what it has. For example, a fort will always have a staff. This way, you can make sure you’re upgrading your build and not just going to places with gear you don’t really need.
- Think three locations ahead. Sometimes you’ll find a great location, but once you clear it out you’ll realize you’re not really near anything else you need. As such, try to head in a direction that will let you hit up a few helpful spots on the way.
Where to Go in Limveld on Day 1
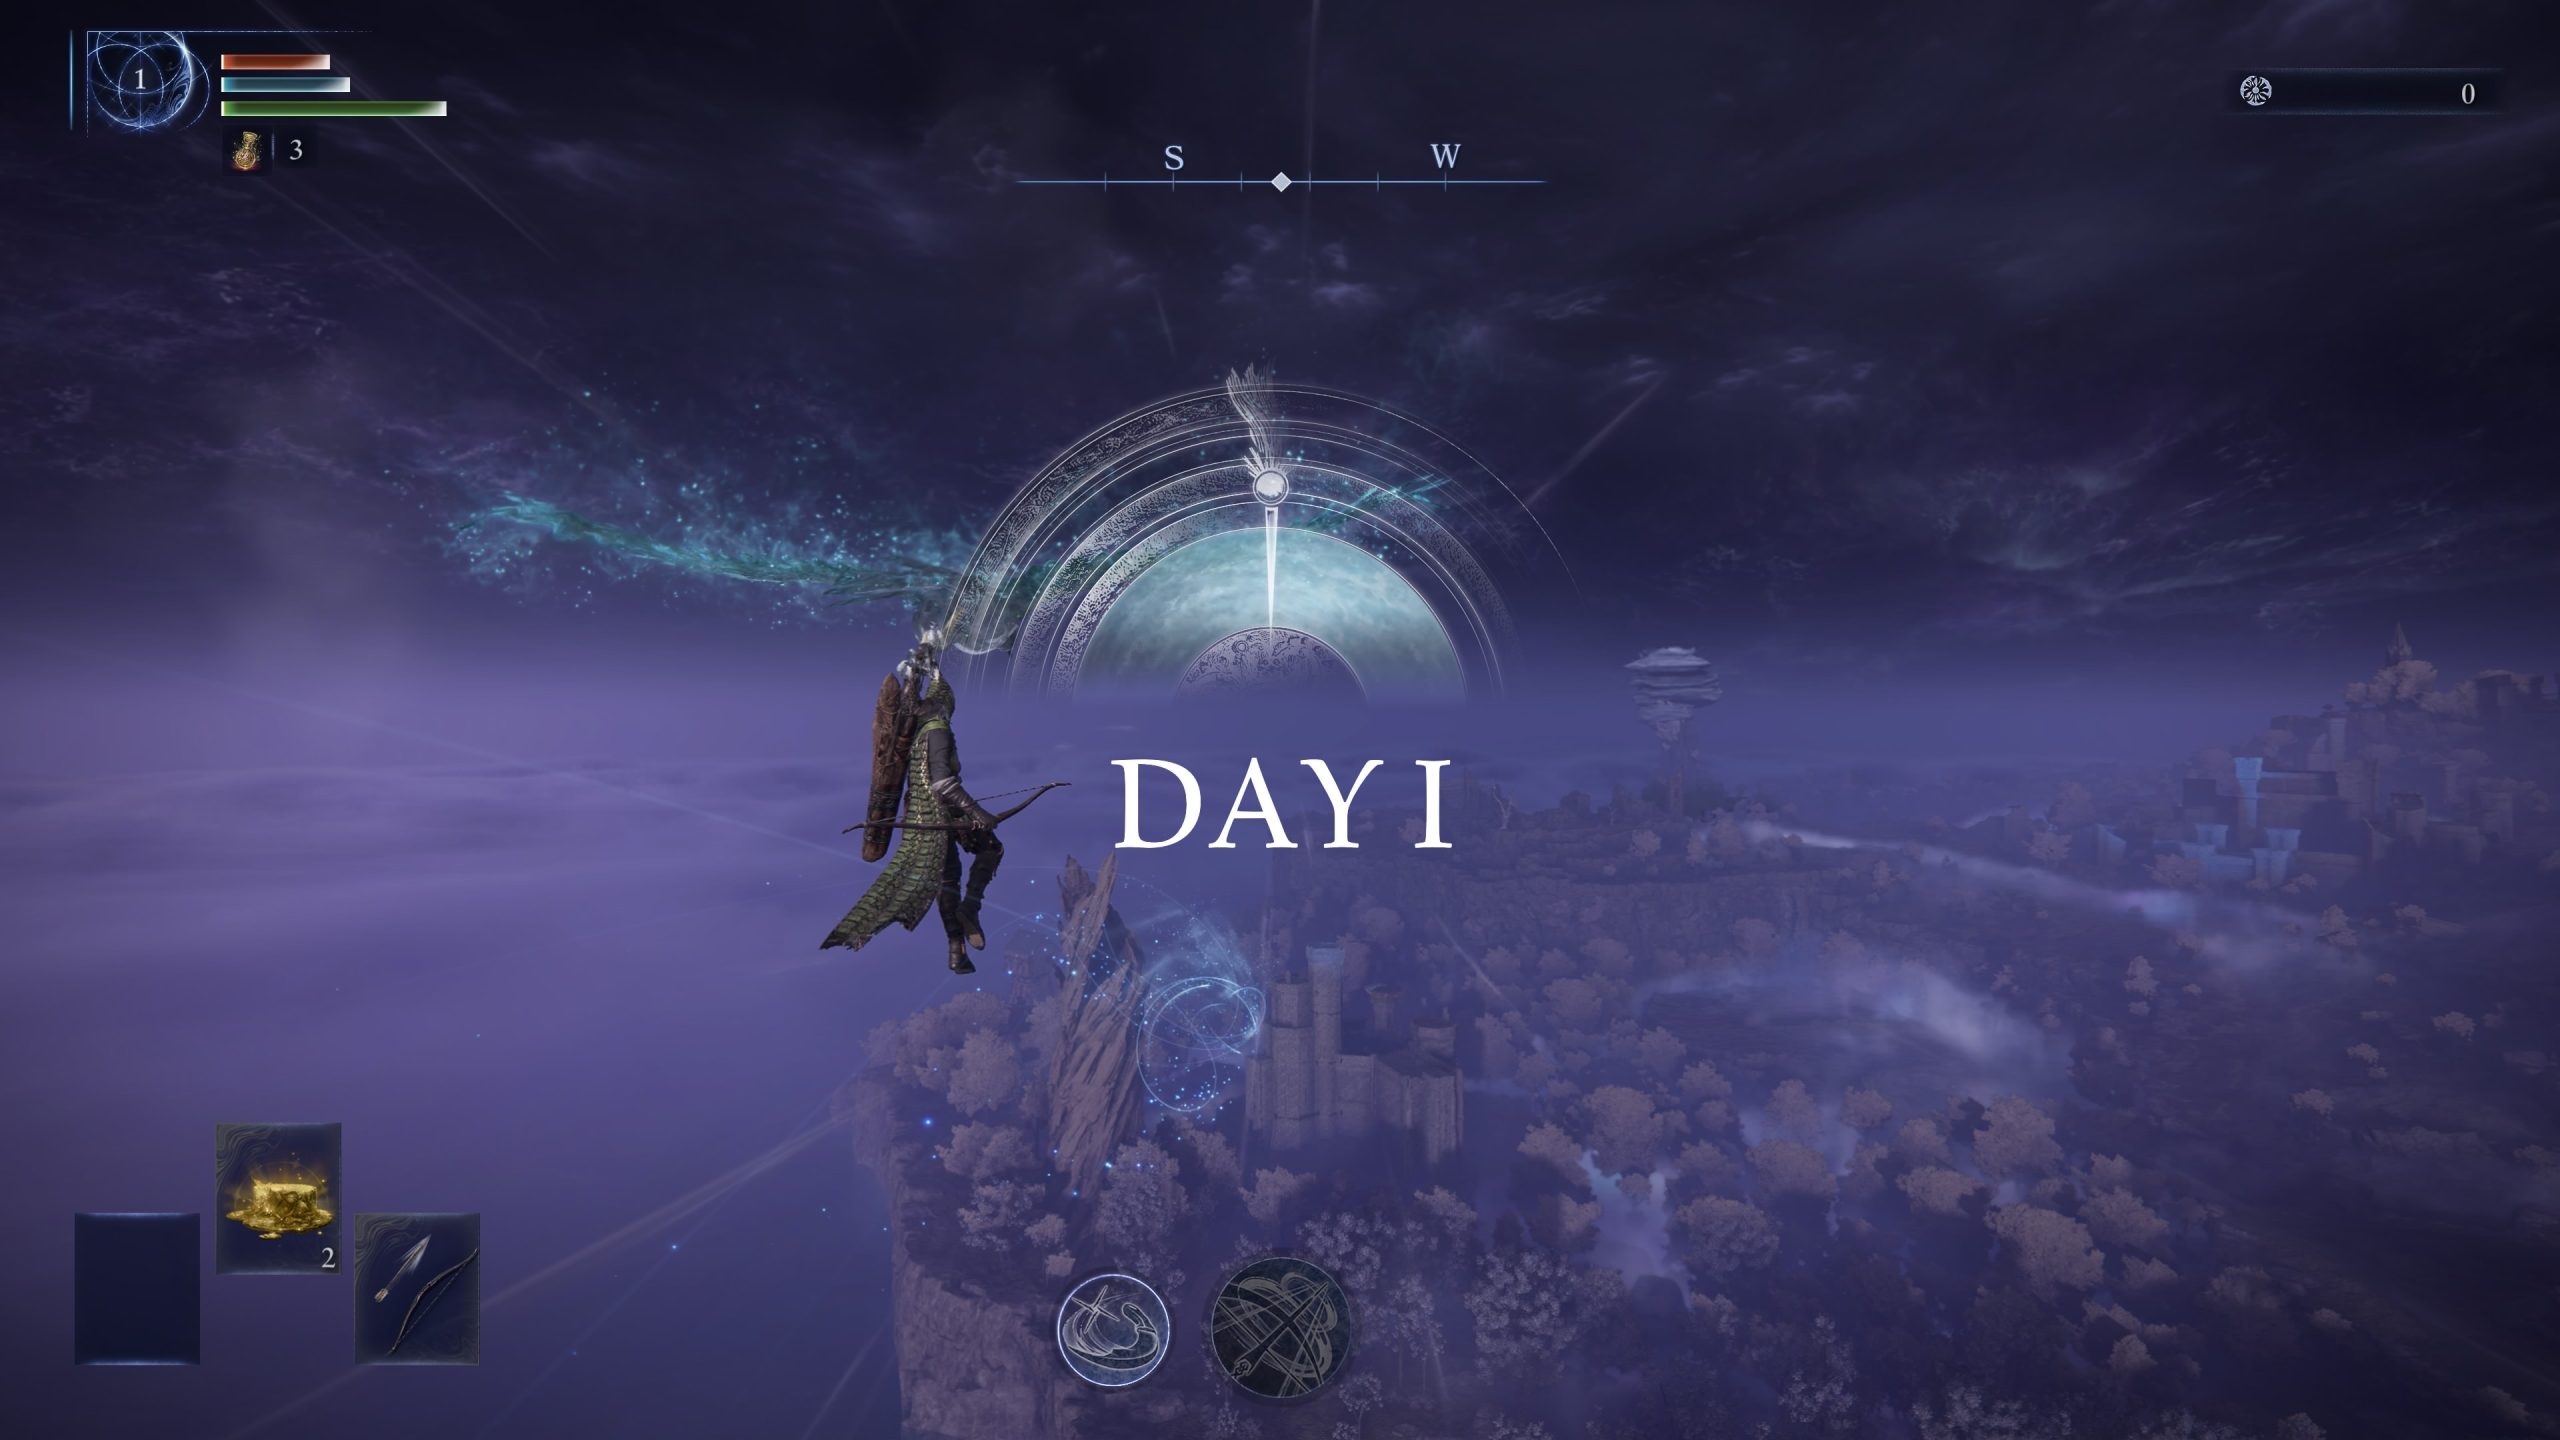
Thankfully, once you get dropped off by your eagle friends, you should have a pretty clear-cut route for where to go first. The game will almost always drop you off near a camp of low-level enemies. Clear this out first.
From there, go to a Sight of Grace to level up. There should be one close by. If you’ve cleared out the camp, you can go from level 1 to level 2.
After that, head over to a Church to get a flask. At this point, you may have to go a little out of the way. But it’ll be worth it for the extra flask.
With a second level and extra flask under your belt, it’s time to find a boss to defeat. Forts, Great Churches, and Cathedrals are great spots. These tend to have starting bosses that shouldn’t pose too much trouble this early in the game.
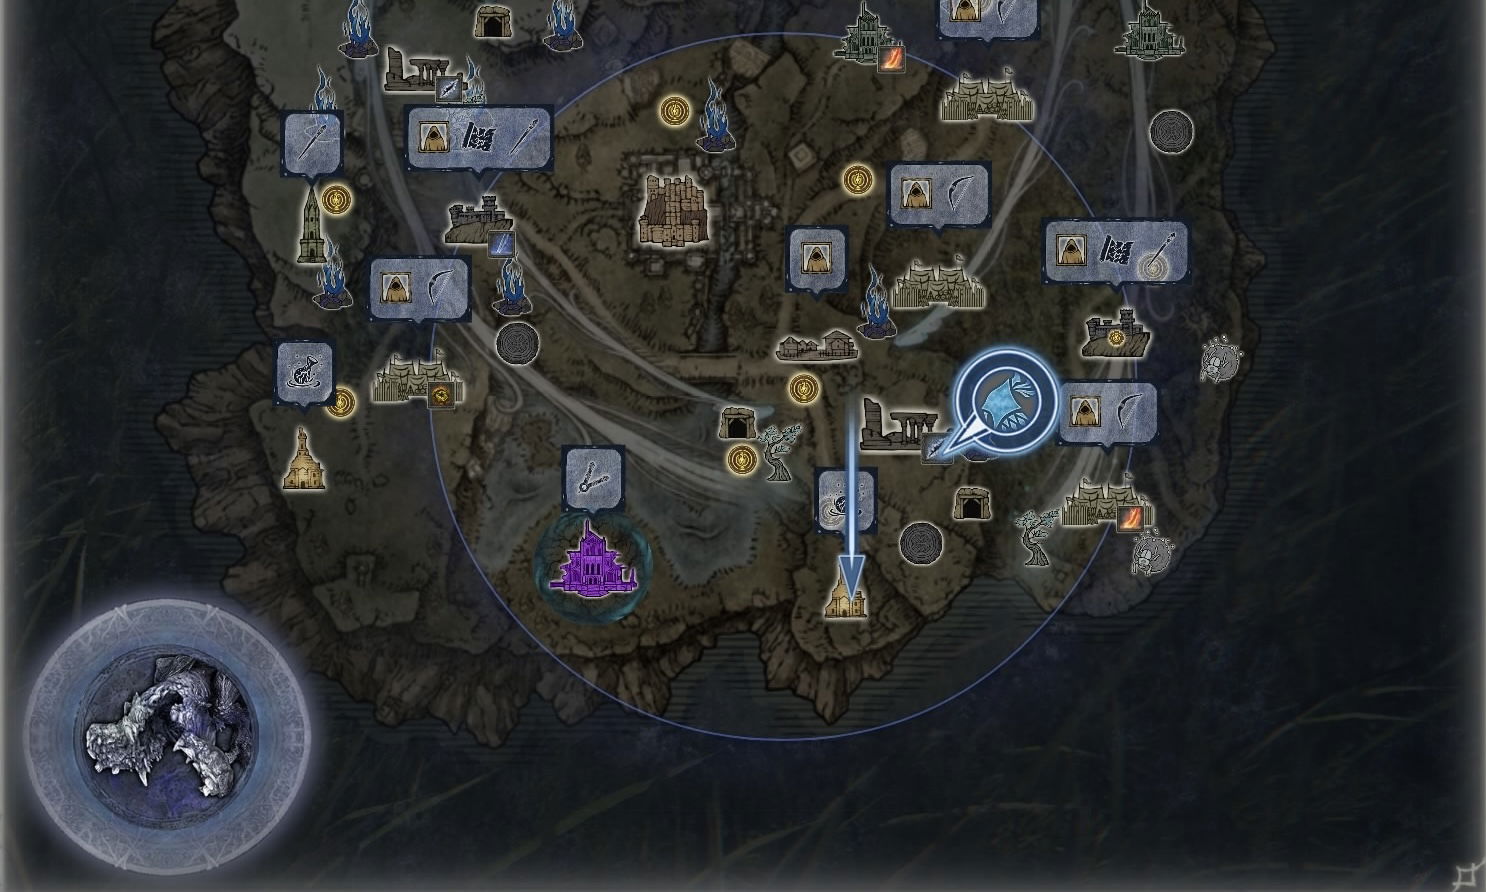
After that, rinse and repeat, visiting Sights of Grace to level up, Churches for flasks, and the locations listed above for easier bosses. Avoid any powerful bosses that will take a lot of time, as well as the castle at the center of the map. At this point, the Night’s Tide should be closing in, so head away from it as you explore.
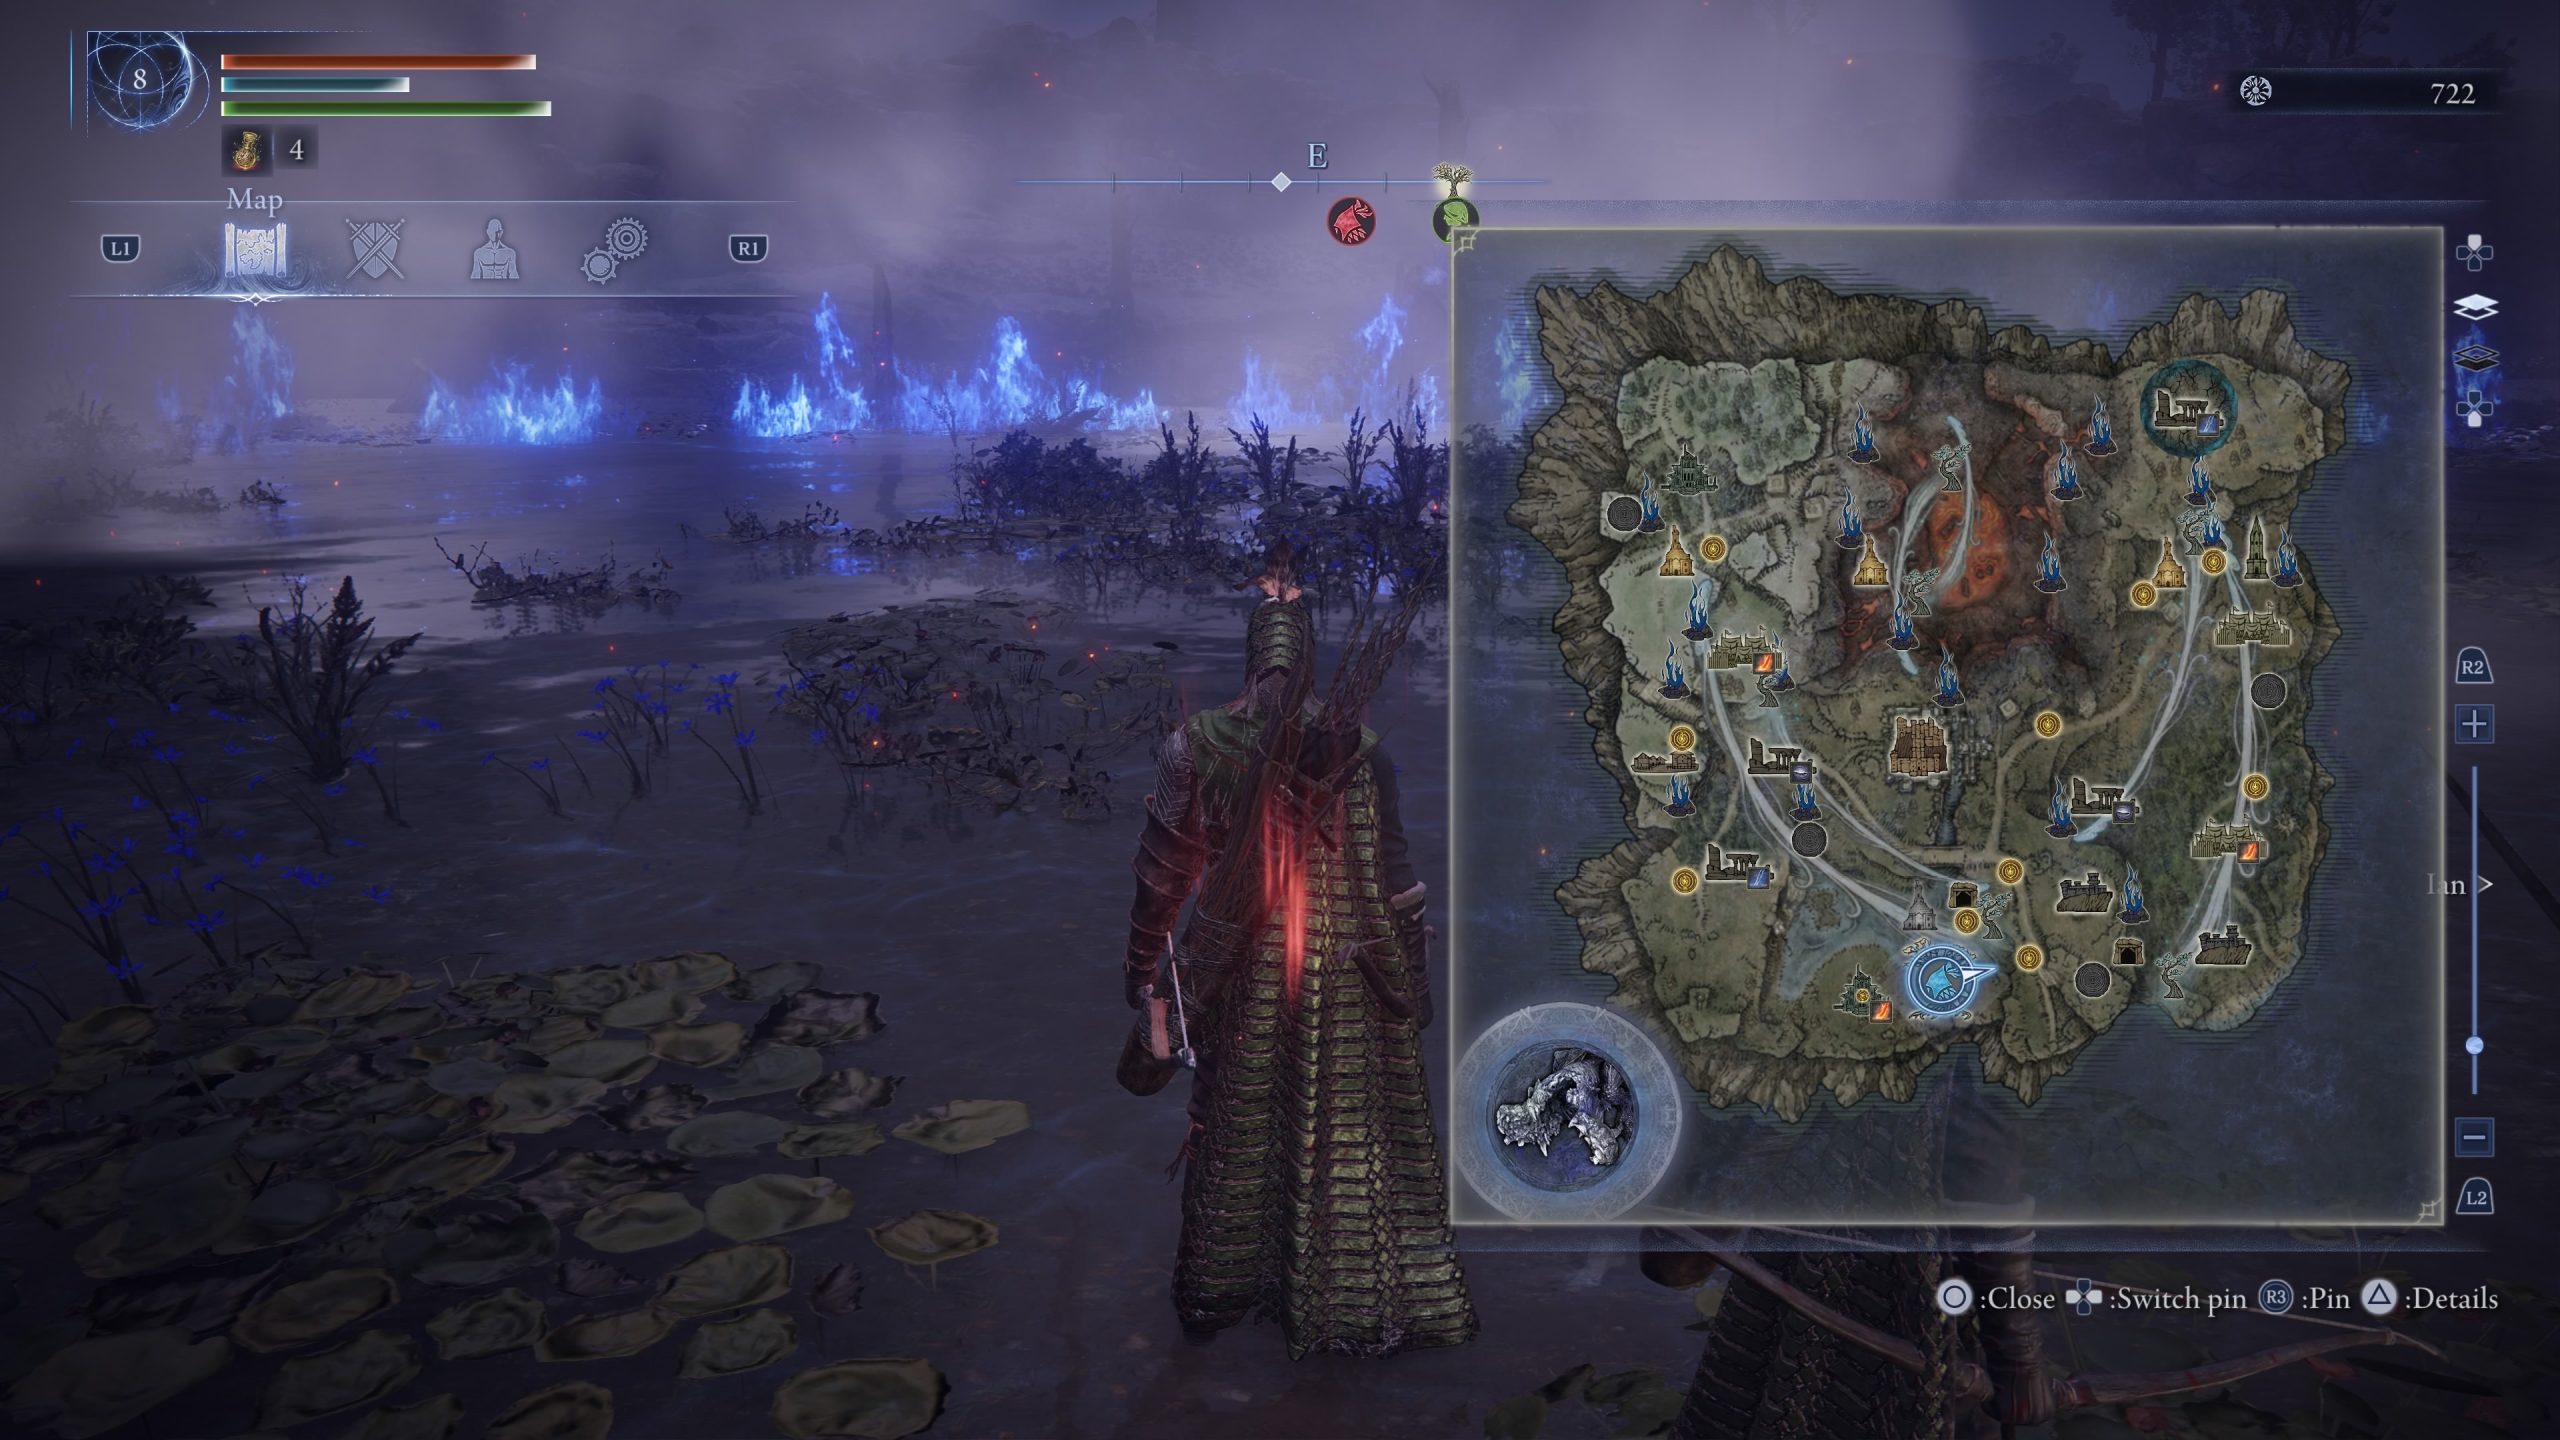
Once the fire closes in tight, a white tree will reveal itself on the map. This will mark the sight of the Night One Boss. Head towards it. If you either have a lot of runes or have used up flasks, make sure to stop at a Sight of Grace before the tree to replenish and/or level up. After that, head to the white tree and fight the Night One Boss.
Where to Go in Limveld on Day 2
Now that you’ve defeated the Night One Boss, you have more leeway on where you want to go. You can take on stronger bosses and higher risks ahead of your showdown with the Nightlord. That said, there are still a few recommended areas to visit.
If you found a Stonesword Key, now is a great time to use it. Head to an Evergaol to unlock the boss within and fight it. It will give you the option for 10,000 runes on top of those you obtain from defeating it. If you have more keys, visit more Evergaols.
You can also visit the imposing Castle in the middle of the map now. It’ll have some enemies you can fight around the courtyard if you have time. But you’ll really want to go into the basement through the sewers to battle a boss. It may offer slightly more of a challenge, but if you defeat it you can head into the castle proper to get a talisman. Not bad.
Alternatively, if you’ve unlocked a Shifting Earth event, you can head there instead. These are time-consuming, so best to make a beeline for these as your first step in Day 2. Once you hike up (or down) the volcano, mountain, etc. you’ll find a boss to defeat. This will let you upgrade to a legendary armament and even give you the option for a one-use revival. I recommend taking it.
From there, it’s time to head to the second white tree for your Day 2 Boss battle. Before that, hit up a Sight of Grace to level up. If you can’t find one, a weaker boss in the area should grant you one. From there, you’ll fight the Day 2 Boss. And then it’s off to fight the Nightlord. Good luck!
Locations in Elden Ring Nightreign That Are Hit-or-Miss
Following the steps laid out here should get you prepared nicely to take on the Nightlord. That said, if you’re playing with skilled friends or folks over voicechat, you may want to take some calculated risks. Here are some locations that have their pros and cons. Check them out as you see fit:
If you want Smithing Stones to upgrade your armaments, Mines can be chockfull of them. They also have weaker bosses for you to take on. That said, they often have winding layouts. If the Night’s Tide closes in while you’re inside, it can end your run right there. Best to do these earlier in a day.
For those of you using sorceries, you may want to visit a Rise. These towers have powerful staffs for you, you just have to unlock them. They don’t have anything dangerous, but if you take too long or go out of the way, they can waste precious time. I’d recommend going to a Fort instead for a staff, or visiting if a Rise if you have nothing else to hit up.
Great Formidable Enemies appearing in Day 2 can drop a lot of runes and good gear. At the same time, they can take a while to go down and can take out uncoordinated teams. Spending a whole day fighting them just to have the Night’s Tide cut you off before you’re done can be frustrating. Try them if you’d like a challenge, otherwise weaker Formidable Enemies from Day 1 can serve as a nice compromise.
Elden Ring Nightreign Road Trip
With that, you and your friends should be all set to traverse Limveld. Of course, this advice is just a guide for starting out. As you play, you’ll find tweaks for which locations you like and which you want to avoid at all costs. Your build may also determine this as well.
But for starting out or playing with new players, this guide should help the road rise up to meet you as you get dropped into Limveld. Happy exploring!